回到概览

Optimizing Human Machine Interactions through senses

How humans and machines interact is changing. The user experience is growing more complex and interactive. We no longer rely only on our mouse and keyboard. Incari Studio supports a variety of HMI input types to provide you with more ways to maximize the user interaction experience.

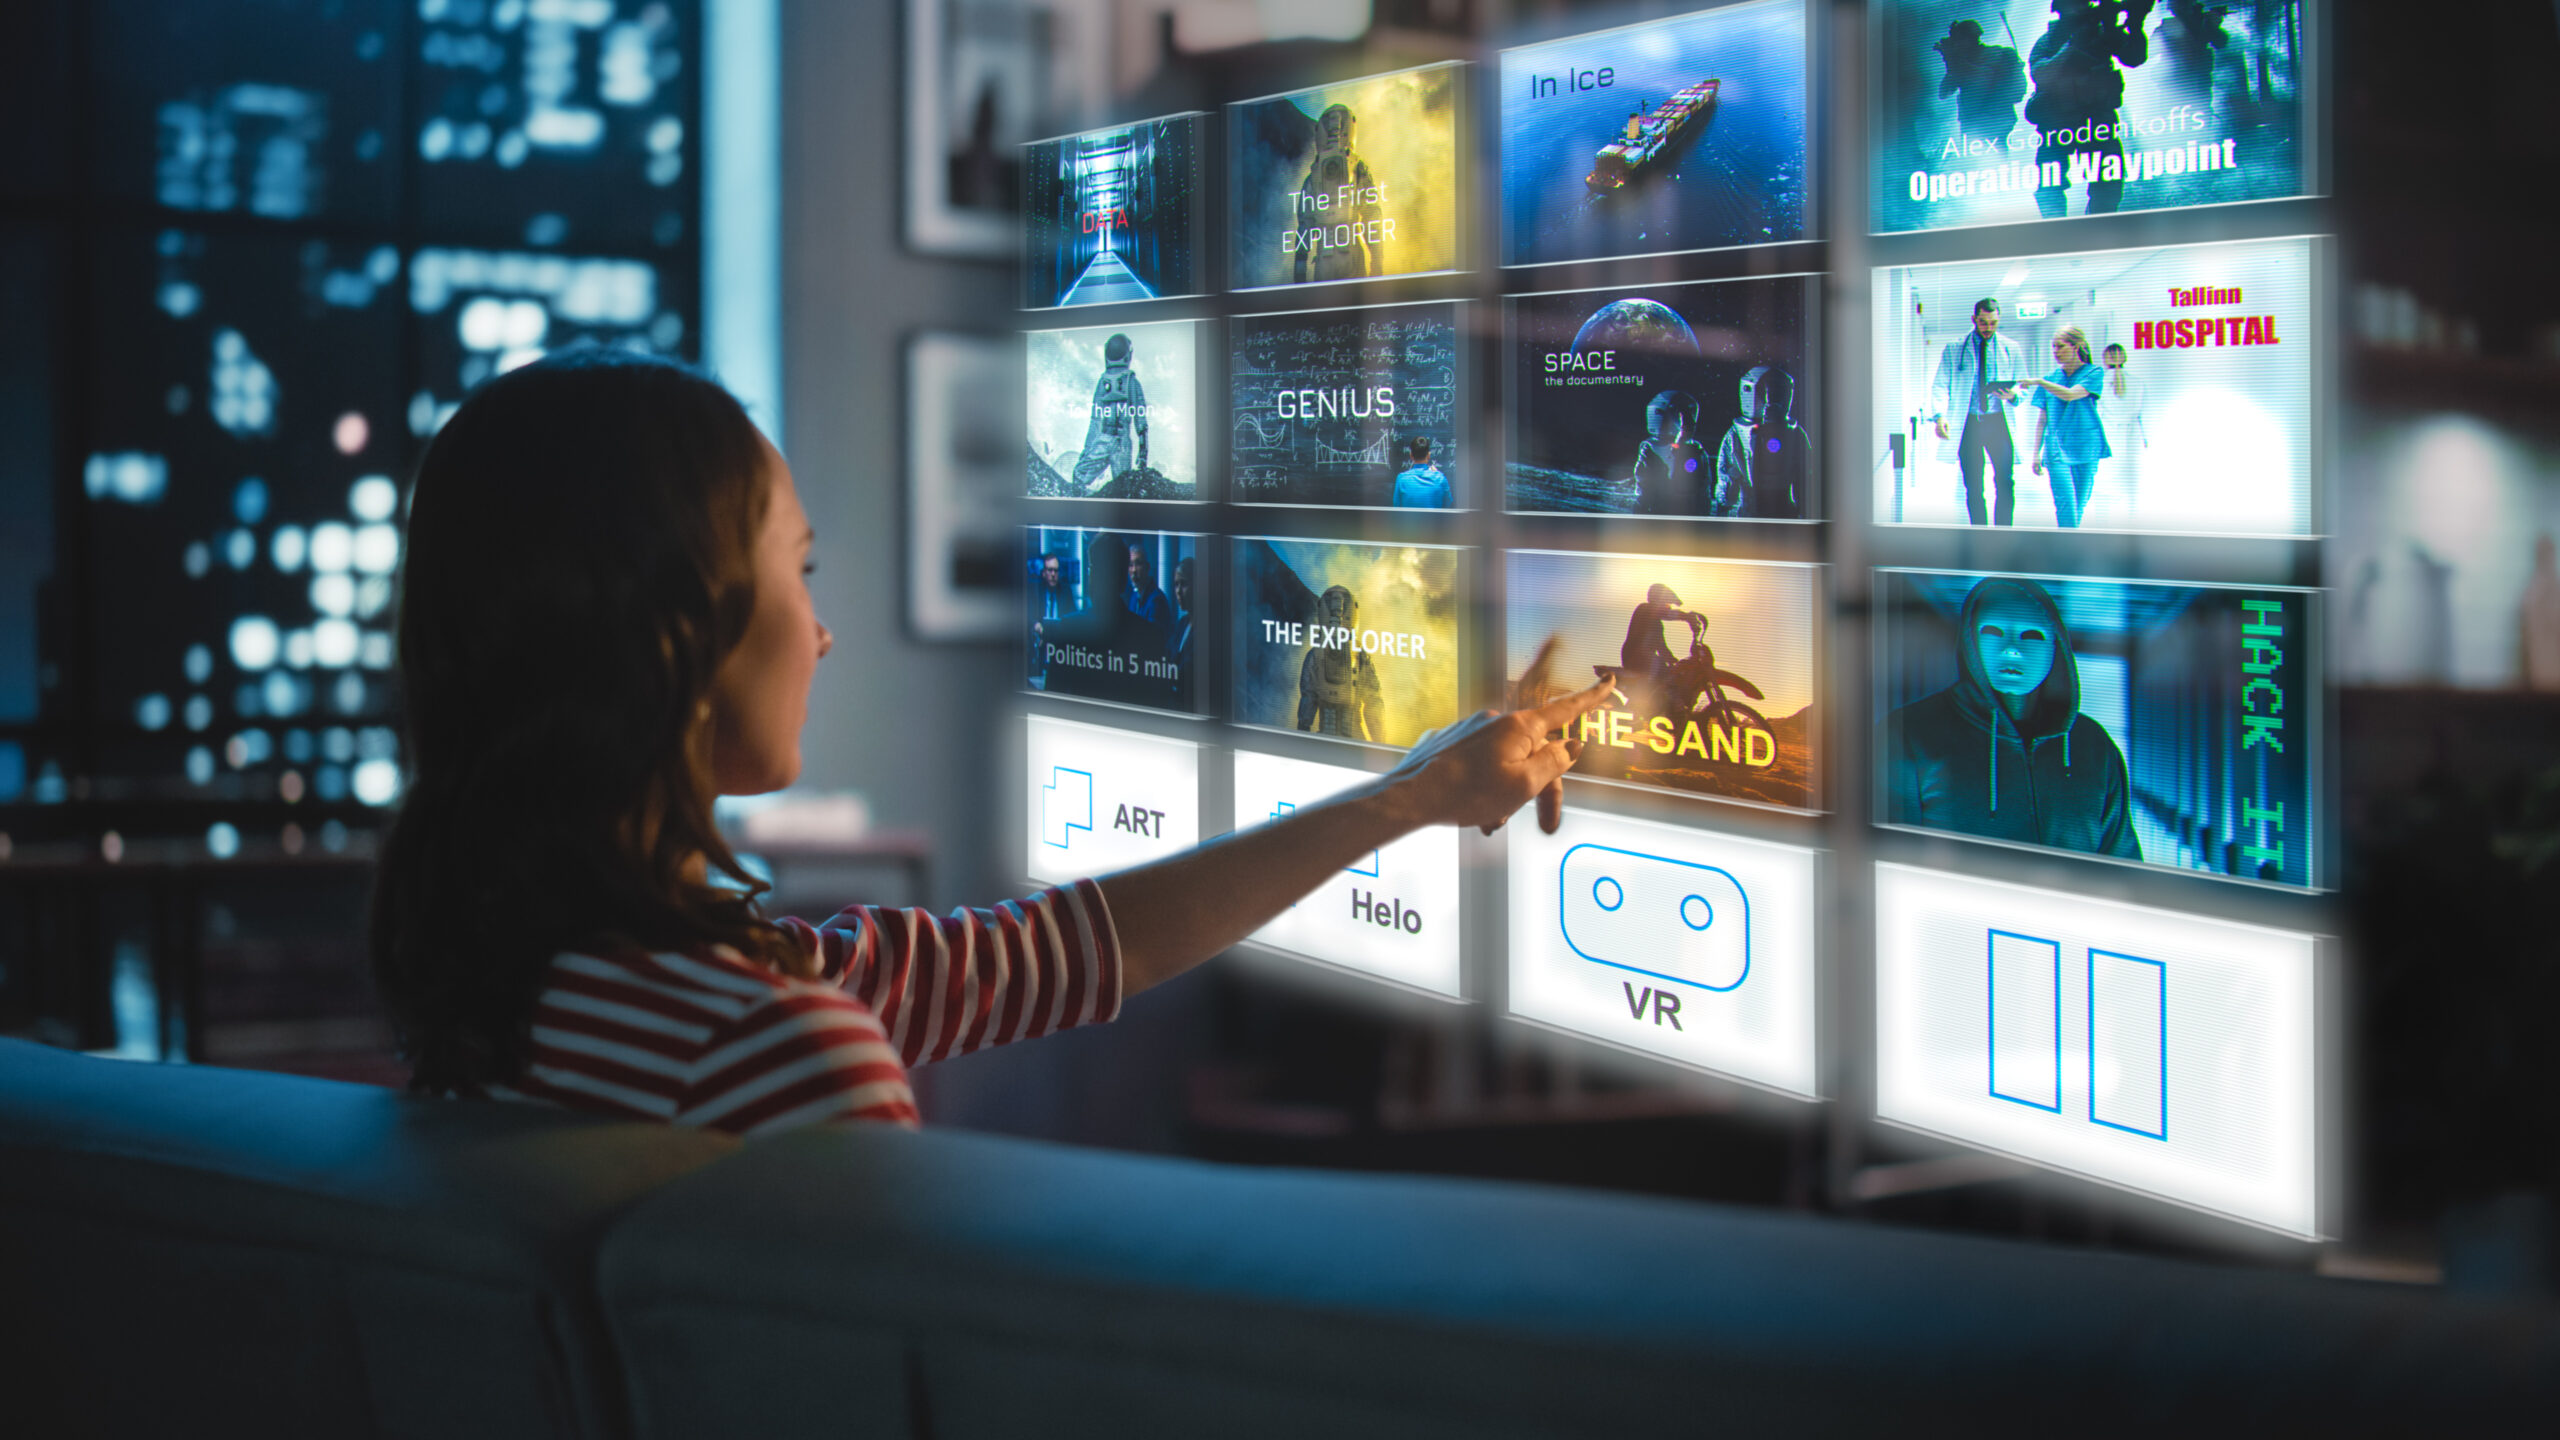
Triggering the senses

HMI is the way a human being interacts with every kind of machine. These interactions can trigger multiple cognitive senses such as sight, hearing, touch, and speech. These senses allow us to observe, interact, command, and control the actions of machines.

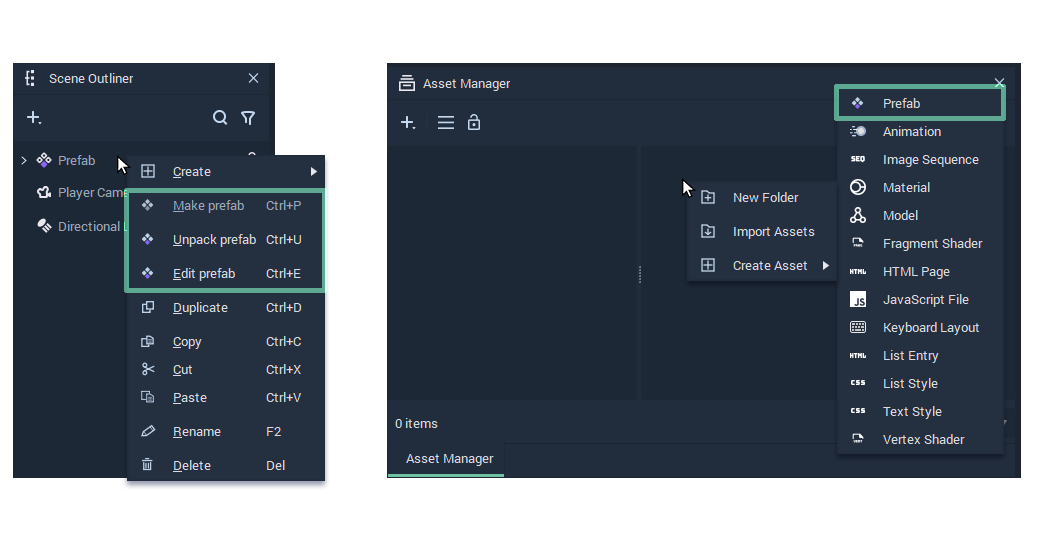
Using Incari Studio Input types

When it comes to input types there is a wide variety. Here is an overview of the, currently, supported input types in Incari Studio and how you and your team can use them:

  • Mouse
  • Keyboard
  • Touchscreen
  • Spacial gestures

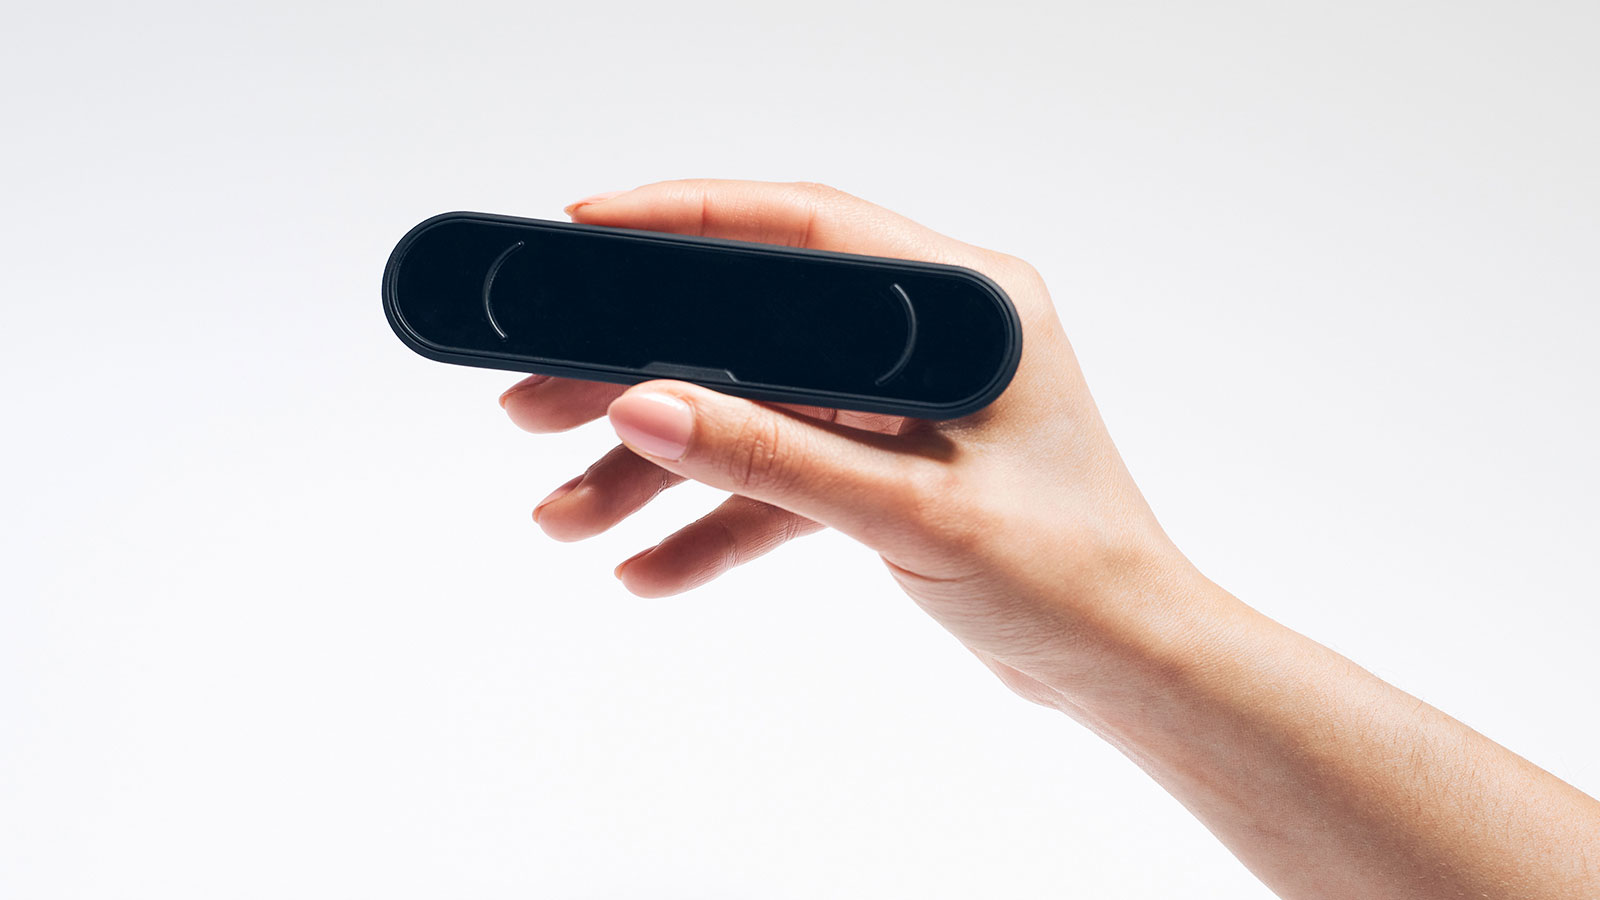
Utilizing spacial gestures for commands

In early 2022 Ultraleap and Incari came together to create a more intense, all-around human-machine interaction. With the UltraLeap 3Di, you can control your computer using gestures such as grabbing, pinching, swiping, and holding objects. By integrating UltraLeap in Incari Studio users can control machines in the air. Canceling out the need for touch-based input types.

Haptics: Making hand tracking feel real

A sense that is vital for many is touch. A lack of said sense can decrease the user experience significantly. Haptics is a technology that combines the senses of touch and motion to create air-based physical stimulation. Ultraleap’s Haptics technology triggers individual speakers that send ultrasound waves through the air. Once these ultrasound waves interact with the skin, it creates the physical sensation of pressure. Pressing a button mid-air can feel as real as when using a touchscreen.

Redefining how you interact with machines

Incari Studio allows you to investigate new ways of interacting and experiencing HMIs. Utilize all senses, and create user interfaces for any device and industry with ease and without the need for extensive coding knowledge. Easy to use, Incari Studio enables you to create for the future.

Download your 30-day free trial of Incari Studio here. Looking to work together with Incari on your latest HMI project? Reach out to our sales team for more information on our enterprise plan.

回到概览

Nested Prefabs: Working smarter with increased flexibility

Chances are you will use component variants in your HMI projects. Creating these variants can be time intensive if done manually. Luckily, Prefabs can simplify this process and leaves less room for error. We are now introducing Nested Prefabs with the Incari Studio 2022.2 preview release.

Create, edit and override

A Prefab is a component that consists of various assets. For example, a Prefab can be a button menu. The buttons and the background are the assets. A Prefab essentially is the collection of selected elements. A Prefab is created in the Incari Studio Asset Manager and encompasses its own logic, design, and behavior. A copy of a Prefab is called an Instance and stays connected to the original Prefab. A benefit of Prefabs is that you can use, copy and transfer them between projects.

Nesting for more freedom

A Nested Prefab is simply a Prefab instance stored within another Prefab. Nested Prefabs allow you to create larger and more complex structures. This way, you maintain references to Prefabs inside other Prefabs. With Nested Prefabs, you no longer have to place a Prefab into a scene to trigger it. You can activate them from within your Nested Prefab.

The benefits of Nested Prefabs in Incari Studio 2022.2

Prefabs are not new to Incari Studio, but with our 2022.2 preview release, we extended the nesting functionalities and advanced their benefits. With the latest update you get:

  • Quick and seamless importing
  • Faster saving and loading times
  • Higher performance
  • Smaller sized projects
  • A clean, clutter-free workspace
  • Increased editing flexibility
  • Trigger a Prefab from another Nested Prefab

Easily and seamlessly work on UI components

Looking to create a Nested Prefab to optimize your UI project workflow? Here are two ways to generate them in Incari Studio 2022.2:

  • Working in an existing project?
    You can use an already existing Prefab. Go to the asset manager and select the “parent” Prefab. Open the parent Prefab and drag the child Prefab from the Asset Manager into the Viewport of the Scene Outliner. Don’t forget to save this change.

  • Creating Nested Prefabs from scratch
    If you are creating a new element and want to make this a Prefab you can easily create the new object within the Prefab. Right-click and select “make Prefabs” and continue working as usual.

Download your 30-day free trial of Incari Studio 2022.2 here. Looking to work together with Incari on your latest HMI project? Reach out to our sales team for more information on our enterprise plan.

回到概览

Video Tutorials online

We have created video tutorials how to build a simple instrument cluster with INCARI Studio. Simply follow the 7 parts of the tutorials and learn how to work with INCARI Studio UI, adding assets and using INCARI Logic.

Here you can download the assets for the tutorial: Tutorial Assets